"As an Amazon Associate, I earn from qualifying purchases. This post contains affiliate links"
If you don’t want to spend more cash on expensive Peloton bike shoes then I completely understand your dilemma. Buying a Peloton can be hectic at times because you often run out of savings.
Therefore if your Peloton bike has been delivered by now then it is high time for you to make a wise decision and grab a pair of shoes that work with Peloton.
However, if you have bumped upon this article then I wonder if you already own a pair of SPD cleats. This makes me sure about the fact that you might have been a cyclist earlier. There are a wee few chances that you might even have a gym membership but working out at home is another level of comfort and relief.
So are you still in the process of figuring out if Spd cleats are compatible with Peloton or not? If yes then, read till the very end to know alternative ways for using SPD cleats on a Peloton.
- We barely discussed Delta Vs SPD Cleats in our previous articles.
Are SPD Cleats Compatible With Peloton?
Beforehand I would like to mention that YES, you can wear SPD cleats on a Peloton bike. It takes nothing but some alteration of the pedal system on your Peloton bike. Since the birth of Peloton, the delta-look pedal system has been the only pedal system on it so you might have to make some changes with it. But, these SPD cleats are highly compatible and convenient with the bike.
You just need to make an installation of a new pedal system and you are good to go..
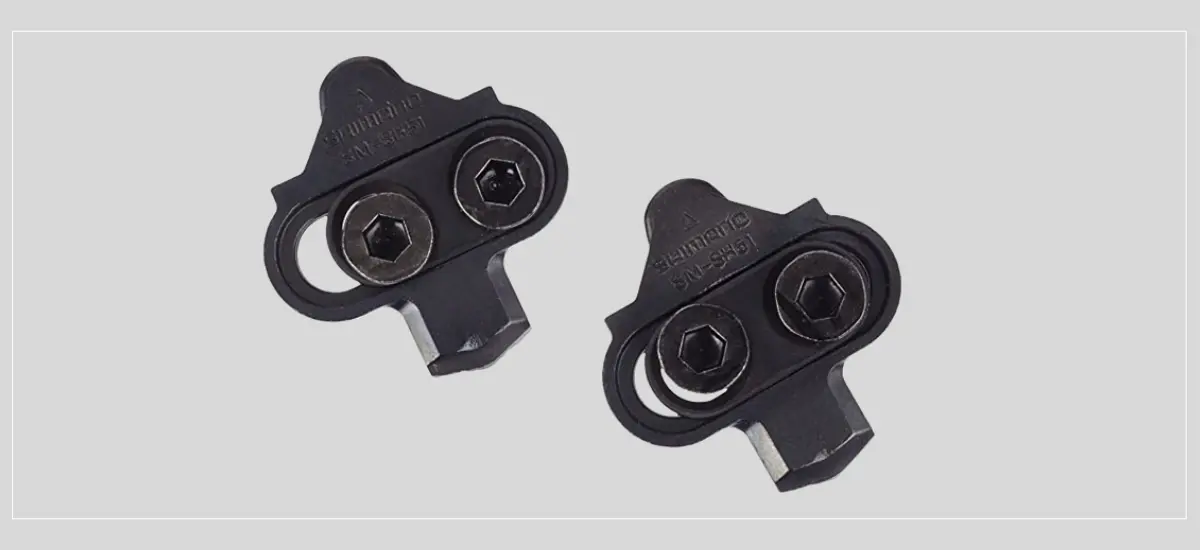
There are various reasons due to which people mostly prefer the installation of new pedals, even so, the reason that I am going to discuss here is if someone wants to wear different types of cycling shoes such as SPD. During the installation of the SPD pedals you should keep in mind that the pedals should be SPD, not SPD-SL.
Let’s learn how to change the pedal system. You will need nothing but some accessories that I will be mentioning. The more carefully you change the more efficiently they will work for a longer period. Try using grease for the perfect alteration and follow the below-given steps to change your pedal system on a Peloton bike.
How To Change Pedals on Peloton?
If you want to have a desired SPD cleat the only way out is to change pedals and here are some simple ways you could do so. The only thing you need to ensure is that you have a 15-millimeter wrench in the kit which came along with your Peloton bike. A 15-millimeter wrench is comparatively thinner than the rest of the wrenches.
If the wrench is not inside that kit you must rush to the market and purchase one. If you can’t buy a new wrench, then as an alternative you can make do with a 6 or 8-millimeter hex key depending on the type of pedal that you are installing. The installation process can be distributed into 3 simple steps so let’s go down the steps.
Step 1 – Remove The Preinstalled Peloton Pedals?
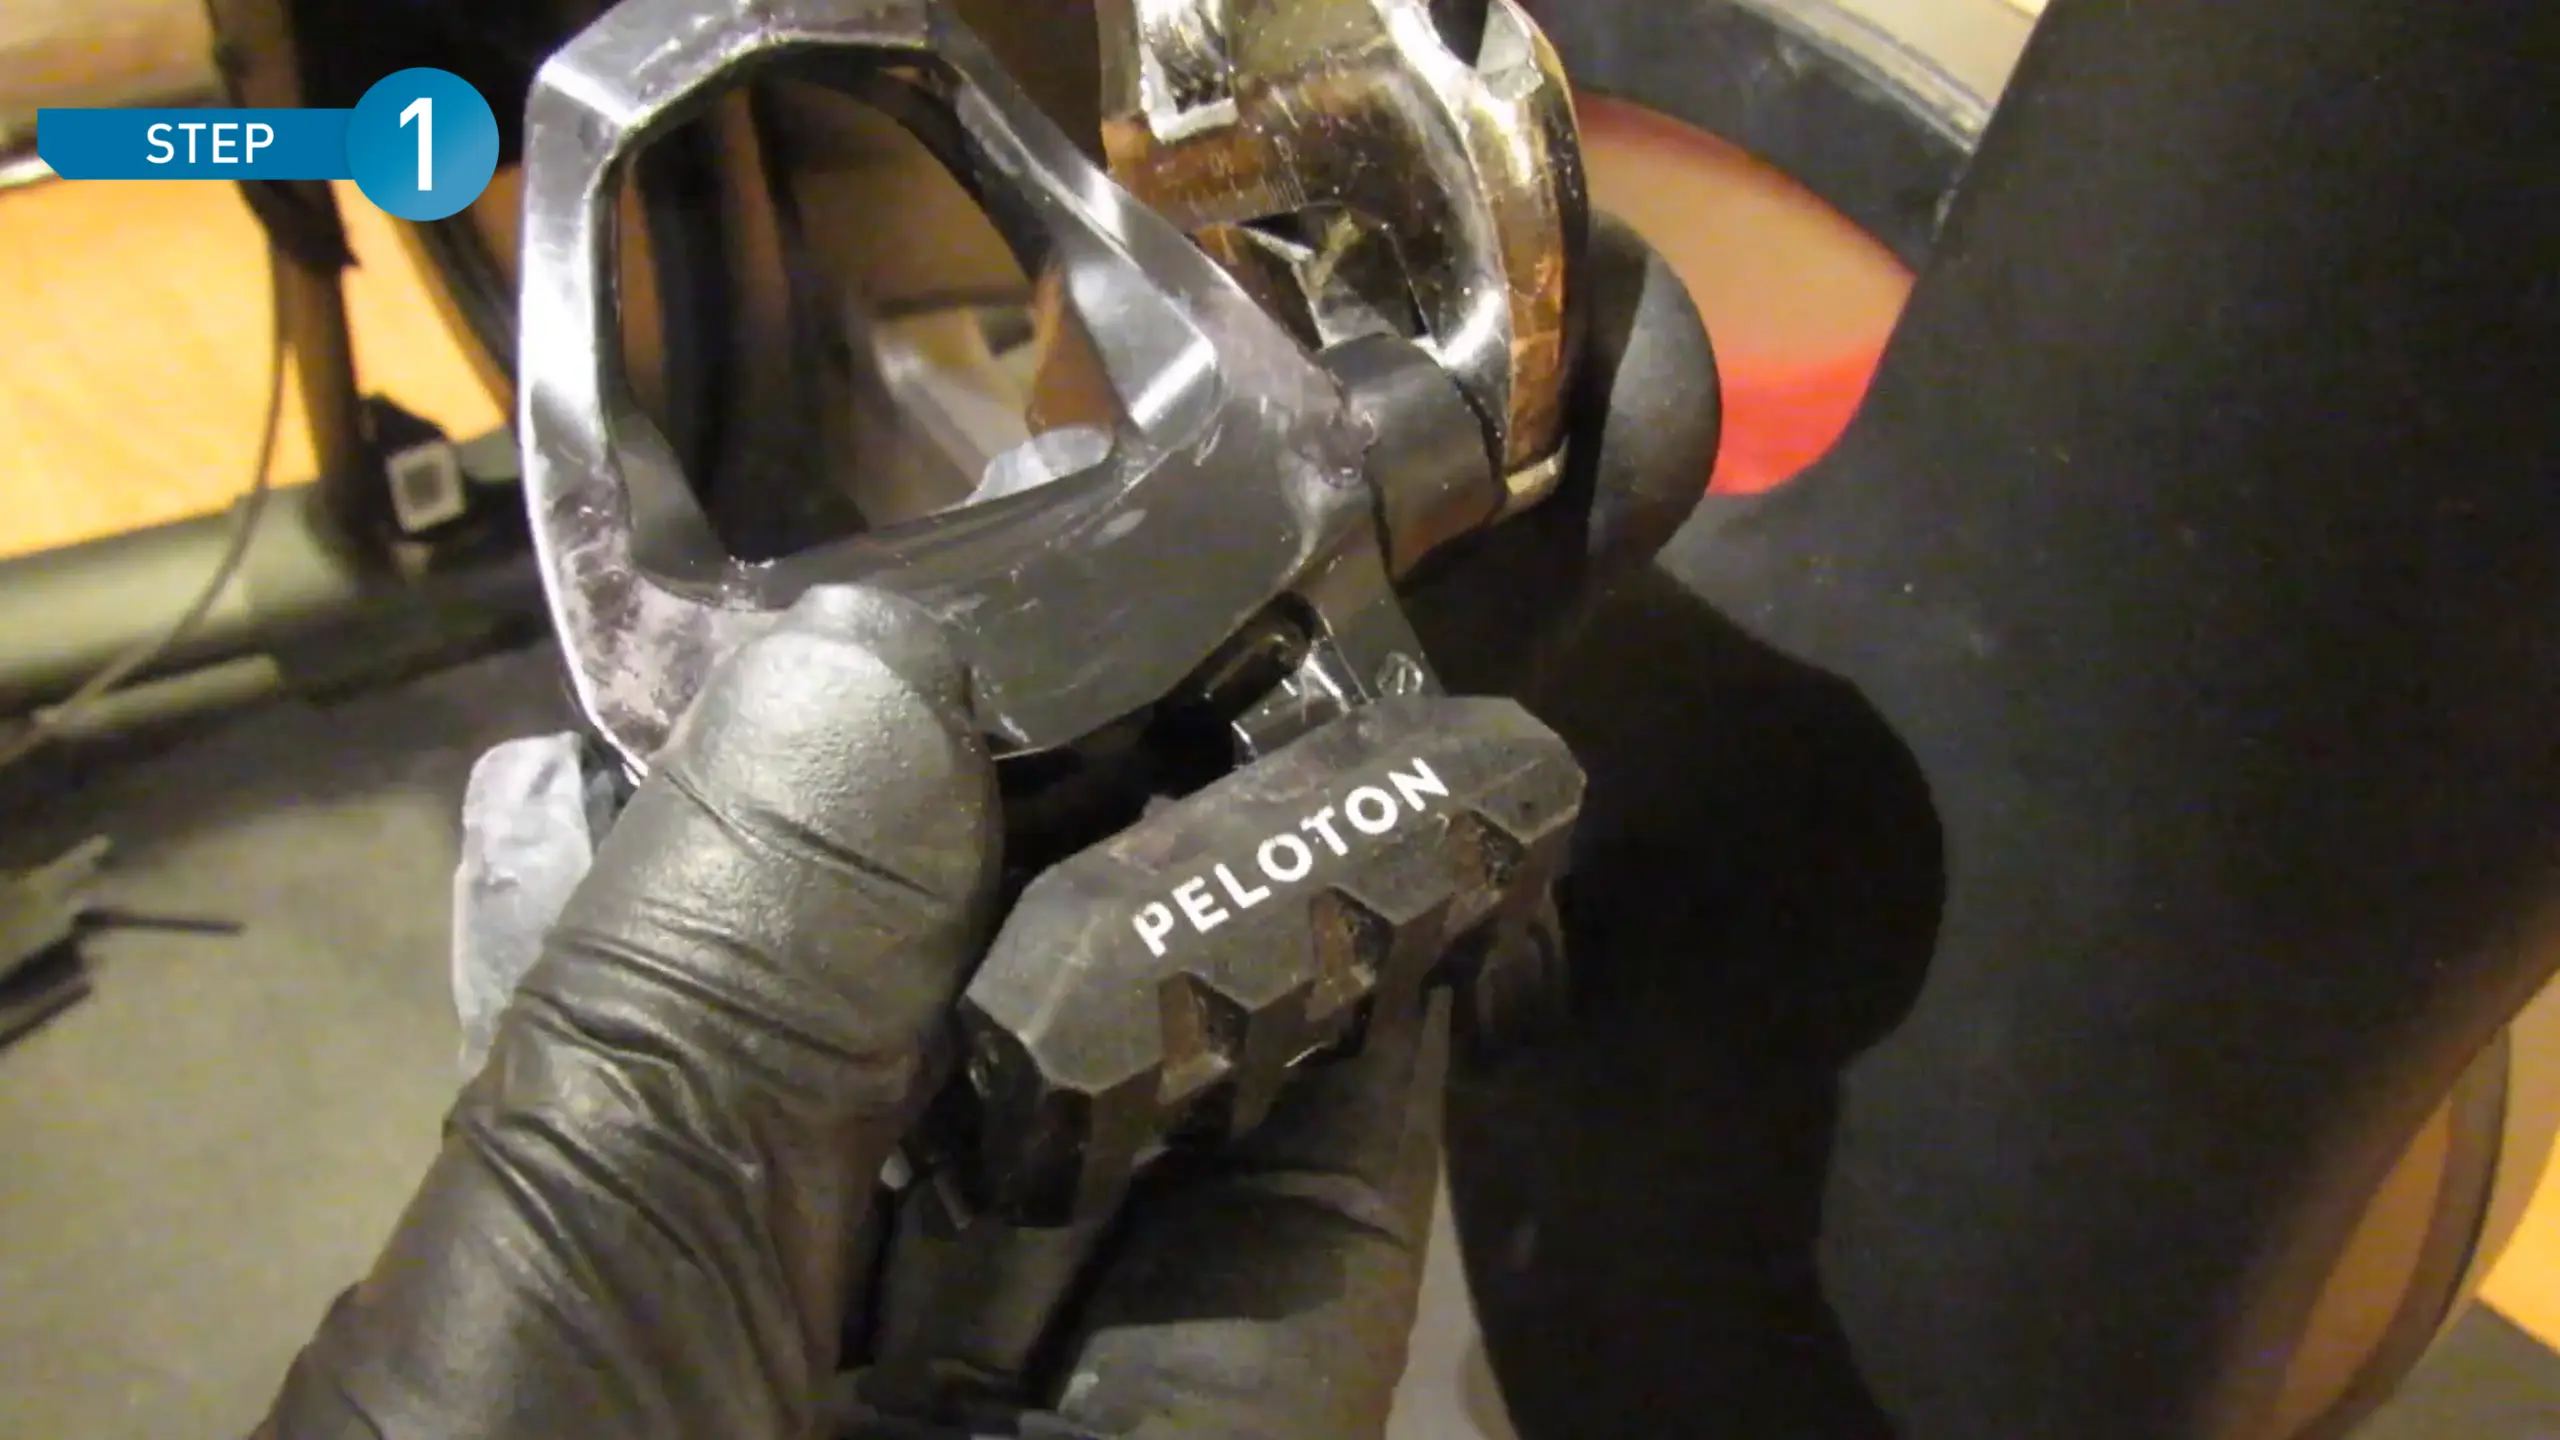
Firstly we are going to get rid of the preinstalled pedals from the Peloton bike and to do so, use a 15-millimeter wrench to remove the left pedal first. Make sure that the wrench fits into the crank nut easily. Once you are done attaching the wrench, you need to turn it clockwise to loosen it.
Despite the fact that normal threading is applicable for the right crank arm, you should not apply a similar technique on your left pedal, doing so can cause damage to the threading. whereas if you are facing any sort of difficulties while turning the crank nut clockwise then you should use a hammer to put some extra torque.
Generally, it’s easy for anyone to loosen the crank nut with their hands. Right after removing the left pedal, you are supposed to try loosening the right one. While you are at it, rotate the wrench counterclockwise to loosen the nut from the crank arm. Since you have been familiar with the process so from now on removing a pedal will be no longer an issue for you.
For a quick overview read this instruction
- Clockwise -for the left pedal
- Counter-clockwise -for the right pedal
Step 2 – Identifying Which Pedal Should Go Towards The Right And Which One Should Go To The Left Crank Arm
Did you know that the right and the left pedals of a Peloton or any bike’s pedals contain opposite threading? Yes, it’s an absolute truth, most of pedal manufacturing companies do so because they want to avoid “precession”. Precession is a mechanical phenomenon in which the right pedal has normal threading.
However in the reconstruction of a left pedal companies mostly put up a few things. The following pointers will guide you through the variant threading:
- First, they fix a button bracket axle at the position where a pedal meets the bike’s body.
- Moving along a button bracket axle nut is used.
- And after that a Bottom bracket cover.
- By this time they fix a crank arm.
- A Crank arm mounting bolt for the tightening.
- Then at last finally the left pedal is installed.
A common question that has been asked by people all over the internet is why this technique is even used. So a brief answer to that is if the left pedal has normal right-hand threading then it would come off the axle. This happens because of the downward force of your foot. This force makes cycling more exhausting as it applies to the spindle.
And makes the axle spin in the opposite direction. In the end, the left pedal becomes loose and falls off the axle. If this phenomena ever happens to your bike just know it has the right-hand threading. Jumping over to finding the correct axle for the pedals, usually, all the pedals come along with the labels “R” and “L”.
These labels are placed according to the right and left pedal so that the manufacturer of a bike could install them correctly on the axle. If you don’t notice any labels on your pedals then you can identify which one is the right and which one is the left by just placing them side by side while the spindles are upwards. If you observe the thread on the right pedal slopes up to the right then it is the opposite for the left one.
Step 3 – Installing a New Pair of Pedals On a Peloton Bike
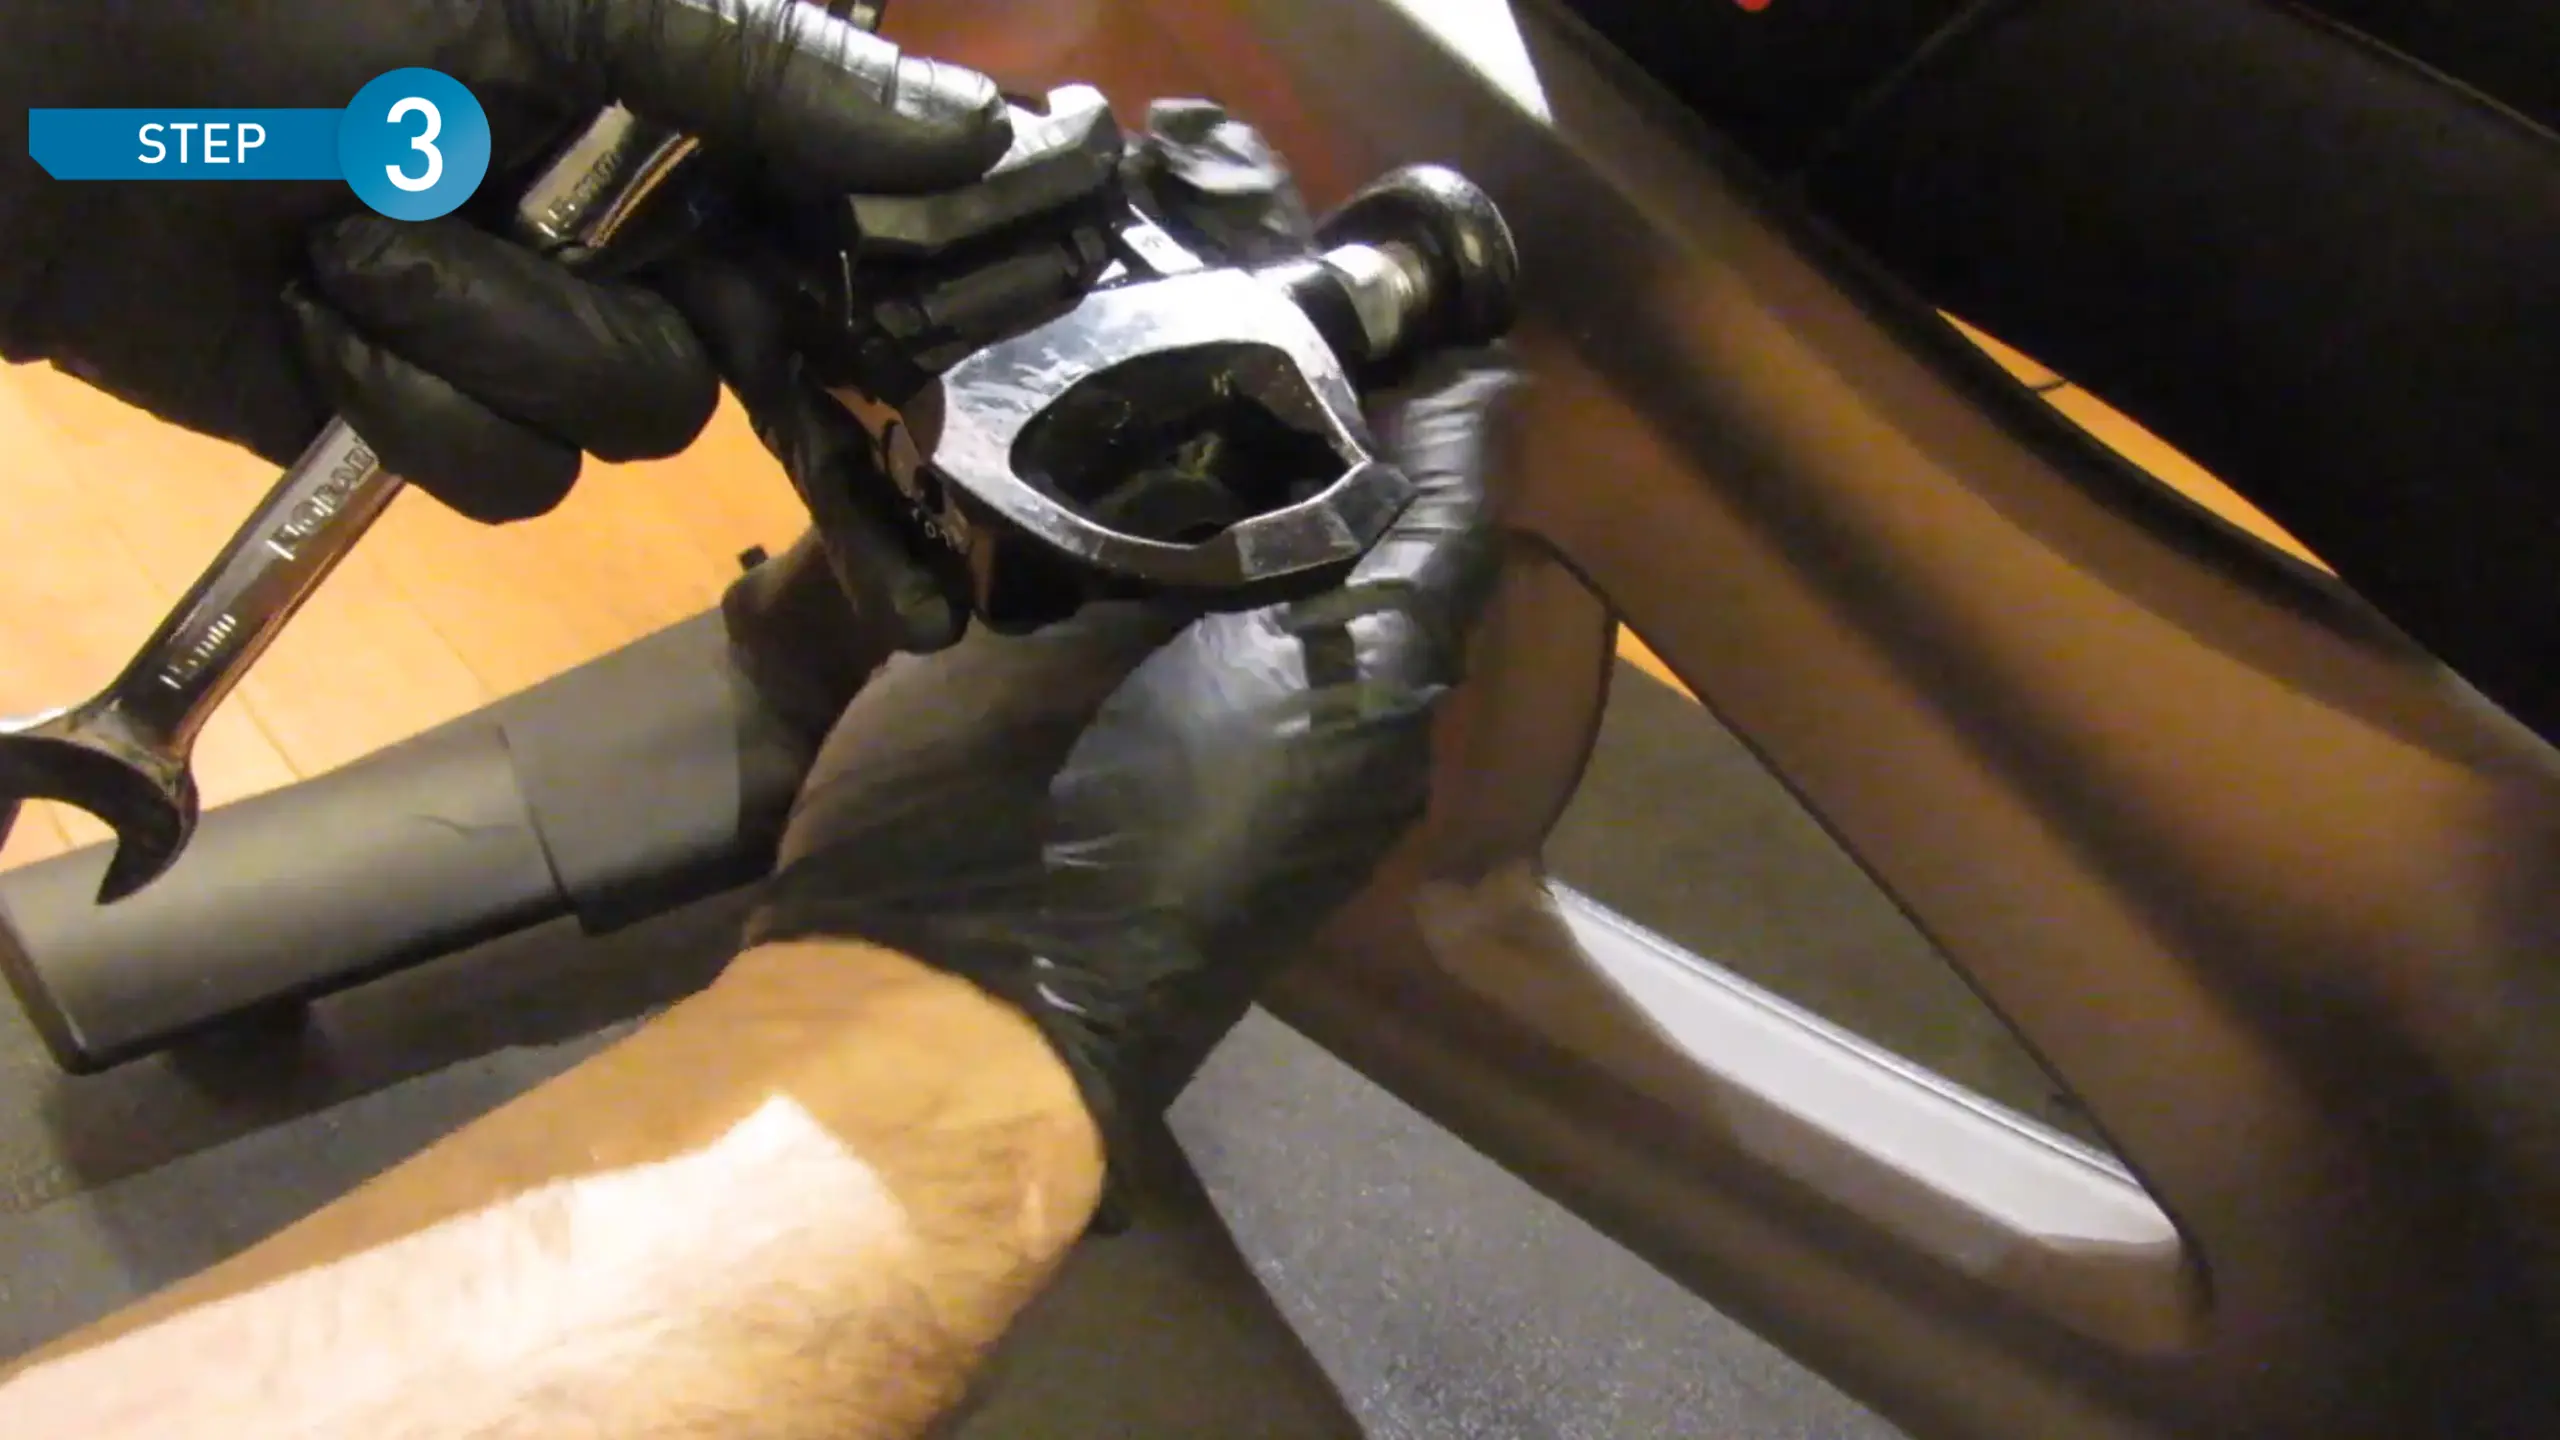
Lastly, it’s time for you to install your new pedals so let’s get straight into it. Start off by using a lubricant such as a grease on the spindles of the new pedals. You should lubricate them before the installation process starts. After this, with the help of “R” and “L” labels place the pedals accurately on each side of the bike.
You should place the left pedal on the axle at an angle of 90 degree and start rotating the spindle with the help of a wrench. Make sure this rotation is counterclockwise for the tightening. Similarly, repeat the process but this time the rotation should be clockwise to tighten the right pedal.
Conclusion
Lastly, if you’ve gone through the steps mentioned in the above article carefully, then by now you know you can use SPD cleats on your bike by just making a few amendments to your pedal system. I’ve also given a descriptive difference among the threading systems of the left and right pedals.
Furthermore, you learned the process of removing pedals and were SPS cleats good enough to work with a Peloton? I provided you an elaborate answer to that which was that the alteration of your pedal system can make things easy for you. Changing the pedals at home and using your own SPD shoes will keep you away from spending more cash.
I hope that you have enjoyed reading this article, so have a great ride on your Peloton. See you in the next article till then Adios from my side!
Related Articles:-
- How To Tighten Peloton Handlebars?
- Peloton Pause Button Not Showing?
- Best Heart Rate Monitor For Peloton
- How To Fix Wobbly Peloton Handlebars?
- Best Peloton Handlebar Towel
- Peloton Lanebreak Not Working?
- Peloton Bike Maintenance
- How Do I Fix A Peloton Clicking Noise?
- Peloton Headphone Jack Not Working?
