"As an Amazon Associate, I earn from qualifying purchases. This post contains affiliate links"
Among the most often asked questions in peloton bike groups and online forums are how to calibrate a bike. Many customers need help with how calibrating their devices. The primary reason is that Peloton does not support or even encourage the calibration itself.
After a time, you must calibrate your bike for a fair ride. To push the pedals, you will require to put a lot of force on your knees, which is next to impossible.
If you are experiencing this issue, this article is for you. Here is a quick tutorial on how to calibrate your peloton bike yourself.
- You Might Also like to Read: How To Clean Peloton Handlebars?
How To Calibratie Your Peloton Bike?
Adjusting the settings on your Peloton bike is easy.
To calibrate your device, please refer to the instructions outlined below.
- Using a Phillips-head screwdriver, a 3mm and a 4mm Allen key, remove the water bottle holder and sweat guard.
- Choose “About” from the menu when you hit the dots in the right corner of the console.
- Once the box displays, press the top right corner 10-20 times to bring up the sensor calibration page.
A “Welcome to Sensor Calibration!” message will now appear on the screen.
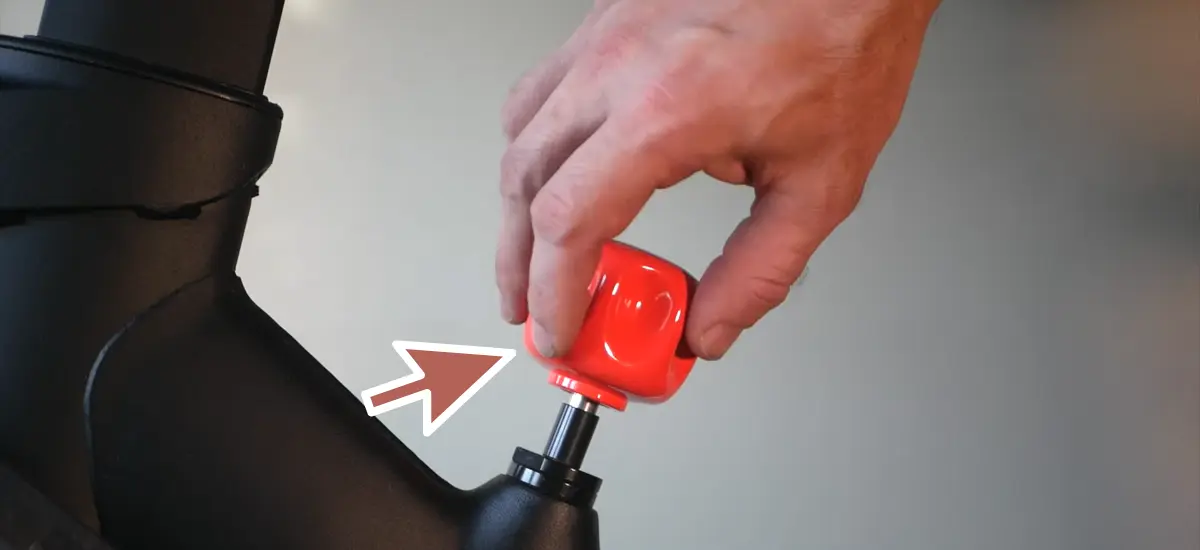
- Click the “Start” button. To calibrate, move the resistance dial to the left.
- To do this, look for the minimum resistance calibration, press the “calibrate max resistance” button and move the dial to the right.
- After you’re finished, hit “done” and move the knob to the left.
- You’ll position the calibration wedge tool between the flywheel’s second and third magnets, then let the knob rest on the wedge.
- Put both white discs beneath the resistance knob, then remove the wedge tool.
- Make sure the lines on both parts are parallel and pointing at the bike’s neck.
- The 31-step calibration procedure begins once you tap “next” on the screen.
- Calibration is complete when you press “set” and gradually increase the knob’s rotation by 1/4 turn increments.
- Remove the bike’s power cord and turn off the screen. Swap out the used water bottle holders and front guard.
Then attempt a class to see whether the resistance and cadence levels have.
How To Calibrate Your Peloton Bike Plus
Auto-calibration makes it simpler to calibrate a Peloton Bike Plus than an earlier model.
- Keep your hands off the bike’s resistance knob and pedals as soon as you step off.
- Your Peloton bike+ display displays three dots in the bottom right corner. It will display the slider menu on the right.
- The “Device Settings” tab is positioned toward the end of the list. Click the link.
- Select “home calibration” in the screen’s lower-left corner. The option for auto-calibration will be shown.
- In the auto-calibration menu, press the red “start calibration” symbol. There is no reason to be concerned that it will take longer than one minute.
Should My Bike’s Peloton Be Calibrated
You should primarily use peloton calibration since it accurately depicts your effort. If your bike is calibrated, your FTP, leaderboard position, and calorie expenditure will be accurate.
The end of your bicycle can be perfectly adjusted. You may still participate fully, get in shape, and have fun without a well-adjusted bicycle.
However, note that key peloton dashboard data correlate closely with resistance statistics.
- Average output – Your average output is affected by cadence and resistance. If the opposition is improperly calibrated, it will affect the average output.
- Total output is your overall output if your average output (watts) multiplied by time matches your total effort (in seconds).
- Calories burnt – The peloton bike measures calories burned using the metabolic equivalent depending on the power output (METs). Inaccurate resistance causes improper calorie expenditure (also known as lousy calibration).
- FTP score– Peloton’s FTP score is the average power output (watts) in a 20-minute class multiplied by 0.95. Under- or over-calibrated bicycles will provide erroneous results.
What Does Peloton Bike Calibration Mean?
Calibration tells the cyclist how well they are doing on the exercise. Each of your peloton bikes will have two physical sensors. These two elements are “Resistance” and “Cadence.” The Resistance sensor may be calibrated successfully. The resistance represents how much effort is required to spin the peloton flywheel. The screen will display it as a percentage.
Adjusting the magnet location on a Peloton cycle by measured resistance is part of the calibration process. Force is needed to turn your crank in a circle or reduce the resistance to the levels used by a peloton. That’s consistent with the look of motorcycles in the area.
Furthermore, you will discover results that are either drastically inferior to your expectations or remarkably superior to your wildest hopes. You will have to adjust the settings on your bike.
Why Do You Need To Calibrate Your Peloton Bike?
Peloton states that their factory-calibrated bikes have an average standard deviation of 10%. 10% is a significant difference, and that’s before the motorcycle ever leaves the factory.
The route of the Peloton bike to your house may subsequently include transferring it into and out of many vehicles from different firms.
Although if your Peloton cycle is thoroughly calibrated, after time, this will likely no longer be the case. Even a minute variation in the magnet above the flywheel may alter the sensation of a particular resistance level.
Are All Peloton Bicycles Equally Calibrated?
All bikes are factory calibrated, and Peloton bike sensors are accurate to within 10% of one another.”
So, it’s safe to assume that only some bikes will look the same.
For the calibration procedure to be successful, the Peloton flywheel and the magnet brackets must be positioned appropriately. Consequently, alterations to the bicycle (such as fixing the brakes or flywheel) may impact the calibration.
Shaking, damaging, tilting, or dropping your bike can alter the orientation of the flywheel.
Conclusion
To use a Peloton bike, you must agree to the calibration conditions. Why?
Because, after a while, you will discover that your bike is no longer straightforward to ride and is no longer comfortable.
Even if your bicycle is not calibrated correctly, it’s not the end of the world. You may still participate fully, get in shape, and have fun without a well-adjusted bicycle. And luckily, you can calibrate your peloton bike and bike using the steps mentioned above. The information helps you to calibrate you get rid of your problem.
Related Articles:-
- How Do I Fix A Peloton Clicking Noise?
- How Much Space Do You Need For a Peloton?
- How To Unclip And Take Off Peloton Shoes?
- How To Put on Peloton Shoes into Pedals?
- How To Remove The Screen From The Peloton Bike?
- How To Connect Fitbit To Peloton App?
- How To Use Peloton Bike Without Subscription?
- How To Avoid Back Pain While Riding Peloton Bike?
